Which application’s camera do you think people use the most nowadays on their mobile phones? If you think the answer is Snapchat, then you would be correct. According to the Snapchat IPO paperwork, in 2016 the app had 158 million daily active users, who created over 2.5 billion Snaps each day. Snapchat is especially popular amongst the younger generations because it not only allows them to keep in touch with each other, but also provides them with some cool filters and photo editing tools for all their pictures. These filters and tools can turn your ordinary picture into something extraordinary for everyone to remember. For a new Snapchat user, the first question that always arises is how to use Snapchat filters; which is an important questions because there are so many filters to choose from. Worry not, we can help you pick the right filters for you by guiding you through them.

Front Camera/Selfie Filters
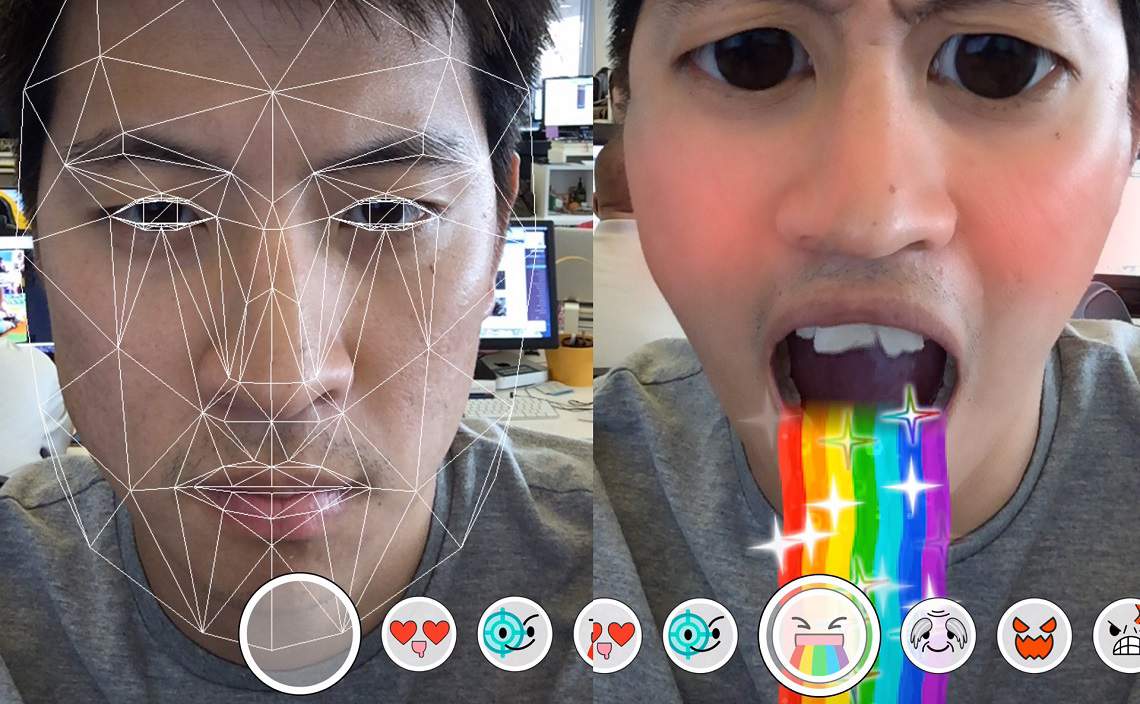
Let’s start with the filters which played a huge part in making Snapchat the success it is today; the selfie filters. So, how to use Snapchat filters? Start by opening up the app; the screen will show you your Snapchat camera screen, which will be set to the back camera. How to switch from back camera to front camera to take a selfie? Easy; just tap on the upper right-hand corner of the screen, on the camera icon, to switch it to front camera. Now, tap on the screen, on your face, to view the selfie filters, which will pop up in a series of circle at the bottom of your screen.

There are many Snapchat filters to choose from, so go through them all, turn by turn, trying them on your face in the camera. When you finally decide which filter you like the best for yourself, tap on the circle at the bottom to take a picture, or you can even take a picture by using your phone’s volume up or down button. You can also use the flashlight of your Snapchat’s camera if you’re taking the snap at night or simply if the picture seems a little dark to you. To use the flash, tap on the flash icon next to the camera icon to turn it on. You can turn it off by tapping on it when you are done.
These filters can also be used while making videos; just press on the circle at the bottom of your screen or press the volume key of your phone and remove your finger only when you are done making your video. These filters will change daily or after two or three days, except for some popular ones which are always in demand; for example, the dog filter and the flower crown filter always stick around. Although these filters are front camera filters, you can still tap the camera icon or double tap your screen to open up the back camera to check out how they work for the back-side. There are some filters which will come with additional features for which you must read the directions on the screen; for example, you may be asked to raise your eyebrows to get addtional animations on the filter. Just follow the instructions and you will know what they were for.
Filters To Edit Your Photos
Now that you know how to use Snapchat filters in general, there are still things which you can do to make your photo or video even better. There are still more filters which can be added after you have taken your picture. These vary from location to location; thus, you might be asked to turn on your phone’s location to access some of the filters which are mentioned below:
- Speed – this filter shows how slow or fast you were going while taking the picture or making the video. Although, it is recommended not to Snapchat and drive.
- Colors – there are various color filters available, which can be added to your photo or video; for example, black and white, sepia, gloss and overly saturated.
- Altitude – this shows the altitude above the sea level, from where the picture was taken.
- Temperature – it shows the current temperature of your location, at the time of the picture being taken.
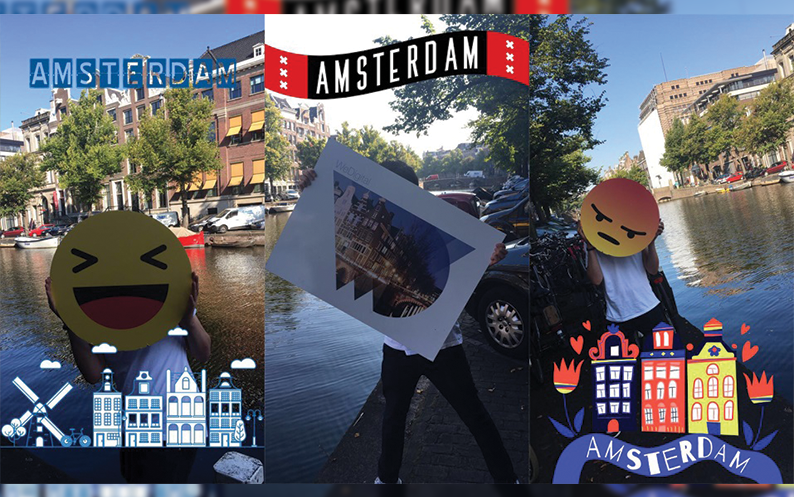
- Location – this filter will ask you to turn on your location in the phone and then it might show the name or add the sticker of the country, city or state where the picture was taken.

- Time – just as it says, this filter allows you to add the time at which the photo was being taken.
- Temporary filters – these temporary filters are related to special holidays or calendar events.
You can add any of these filters by cycling through the additional options by swiping on the screen while pressing the screen at the same time. If you are not satisfied by the additional filters which you later added to the picture, then you can return your picture to the way it was before. This can be done by swiping to the end of the additional filters. By now, you are more than seventy five percent done with the how to use Snapchat filters question. You must be wondering why we haven’t written “hundred percent” right? Well, because Snapchat still has more to give to your pictures!
Tools To Edit Your Photo
If you still think that your photo needs some more editing or could look better then worry not because Snapchat has got your back! There are photo editing tools available for you, you won’t have to return to the original question of how to use Snapchat filters, because these are not filters but simple tools. You may want to first go through each and everything on Snapchat, the filters, tools, stickers, etc., before posting something to your story, to make the best use of what Snapchat provides you with. The photo editing tools are present at the right side of your screen, they appear once you have snapped a photo.
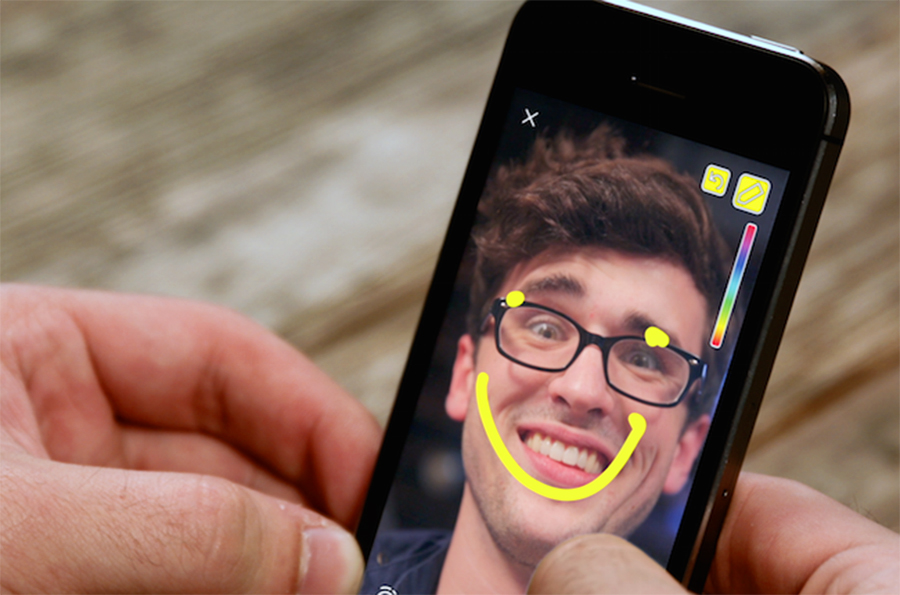
- T – add text. This tool allows you to type anything that you want on your snap; you can type a text by using your phone’s key pad. The format and size can be changed if you tap on it. The color of the text can also be changed by tapping on the color bar, present at the right side.
- Pencil icon – draw. You can draw anything on your snap by using your fingers on the screen. The color can be changed by the color bar present at the right side of the screen. You can change the size of the pencil by pulling and pinching with your fingers on the screen.

- Sticker icon – add a sticker. Click on this icon and swipe up, then swipe from left till the end of the available stickers, viewing all the various fun stickers available. You can change the size of the sticker once you have picked it and it appears on your snap, you can drag it by your finger anywhere on the screen, deciding where to place it. Changing the size of the sticker is also available, this can be done by pinching and pulling at it on the screen, you can also rotate it the way you want. If you want to remove the chosen sticker or replace it, hold the sticker and drag it to the dustbin icon which appears at the right side of the screen.
- Scissor – this icon helps in bringing additional editing options, like these:
- Sticker – This allows you to make a cut out of anything in your snap. Trace your finger on the screen, outlining whatever you want to cut, making a custom sticker. It will be saved in your custom sticker inventory, for future use whenever you want. You can remove this sticker the same way that you removed the regular sticker.
- Stars – This allows you to erase anything that you want removed from your picture, you just have to trace that area with your finger.
- Grid – This allows you to add a certain pattern to the picture. Overlaying the real image, you can outline the areas with your fingers which you want in the foreground.
- Paint Brush – This allows you to fill color into your picture, you just have to outline the object which you want to make of a precise color and the paint brush will get the job done.
Save Your Snapsterpiece
So, by now, you must be a pro at answering the how to use Snapchat filters question. Although, if you still doubt that you can make your snap look even better than the one you took and edited, just save the current snap by tapping on the save option below on your screen. Your snap can be edited by the same filters and tools later, whenever you want, by viewing it in the “Memories” section from your Snapchat app. These are saved or backed up if you have access to a stable internet connection, so make sure to have one!
