Voicemail is a highly beneficial tool one can have on their cell phone particularly if you are someone who is always on calls. If you don’t have voicemail, you can potentially miss crucial messages from friends, employees, colleagues and even your boss. Even though every phone these days comes equipped with the tool of voicemail, it can still be very frustrating to complete its configuration as it is done by the phone itself and not given in some manual. This article is intended on bringing you the procedure on how to set up voicemail on iPhone which can vary slightly according to the network you use or the model of iPhone you own.

Many mobile companies do include voicemail in their cell network plan; you would still need to ensure that your plan comes equipped with the voicemail feature before you begin using the method described below. Many of these companies will include the voicemail option in the basic rate package while other networks may cost you a few dollars per month for the voicemail feature. In case you cannot locate this information anywhere it is prudent to place a call to your service provider and get clarified on the details. When the voicemail plan is clear in your head, you can go ahead with setting up Voicemail on your iPhone.

The process of setting up any voicemail begins by tapping on the voicemail button on the app in iPhone or by placing a call on any number. The number that you will place the call on will depend on the network plan your mobile is set up with. When you dial the desired number, the voicemail set up procedure will instantly start. You will then be asked to place a password, give your name and complete the recording of any greeting that you wish to set. When this procedure of “over-the-phone” is done which will only take a few moment you can move ahead with the procedure of configuring a simple standard voicemail.

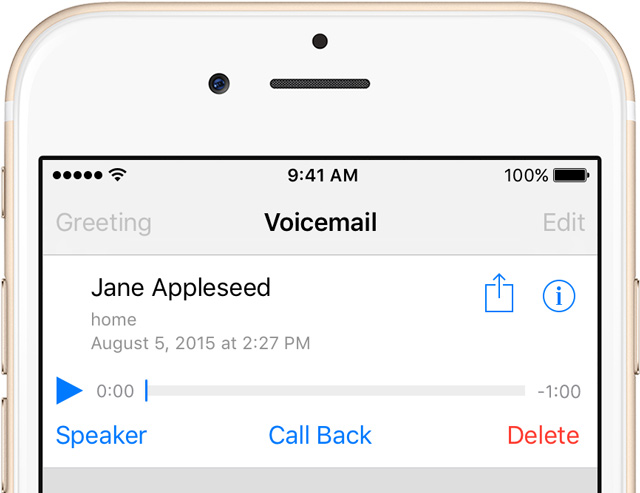
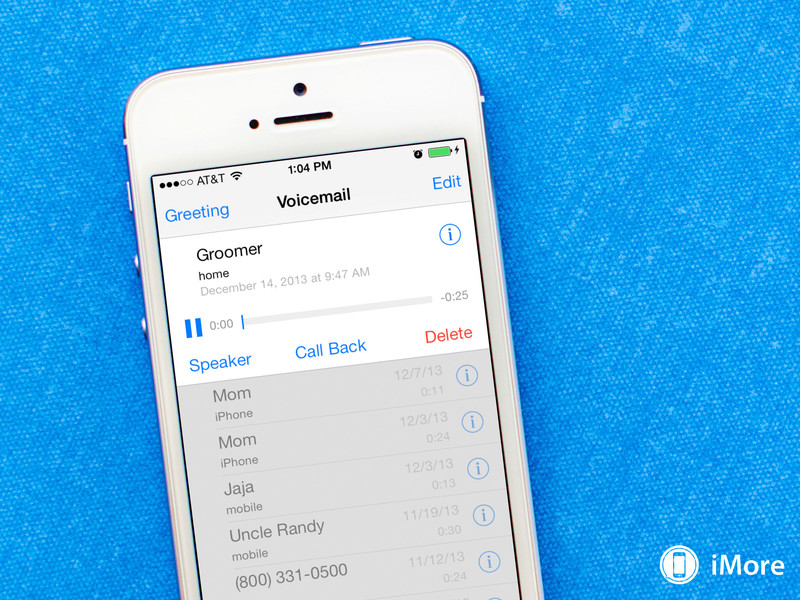
The basic standard voicemail plan is highly helpful and will be enough for a few people however there are more advanced feature which are available on iPhone for years now under the name of Visual Voicemail. Visual Voicemail essentially lets you view an interactive interface of the voicemail procedure.
A basic voicemail will enable you to place a call on your system and will sift through all the messages without having to choose the ones you wish to listen to or wish to skip. Visual Voicemail will display all these messages and will let you select the messages that you want to listen to and will also allow you to delete the messages that you wish to get rid of. The only issue is that not every network carrier or company will give this feature. If you want to see that your company has this option you can follow these steps given below:

Step 1: Access the Phone app and then click the button for voicemail button after which you must click the button for Set Up Now. In case you cannot see this button on your screen, then sadly Visual Voicemail isn’t offered on your carrier plan.
Step 2: You must then create and complete the confirmation of a password.
Step 3: In the next step you must choose a Default or set up any customized greeting.
Then you are all configured for your voicemails after which you can select the ones that you want to reply to and ignore the others that you wish to get rid of.
Many users of iPhones opt for iPhone for messaging and social media however at the end of the day it is still a cell phone and the most beneficial aspect of having any phone is to be able to receive and listen to important voicemails and this article has guided you exactly on that.