Instagram has become one of the most popular social networking websites in the world within a short period of time. How? How did it become so widely used and loved by such a huge number of people? The simple fact that the website caters to its users in every way. The users come first and Instagram knows that, which is why it is always improving to give the users what they want. One such improvement came in the form of Instagram Stories, a feature that lets you upload pictures and videos in the form of a slideshow that disappears after a full twenty four hours.

Instagram Stories are visible to all your followers with that twenty four hour period, but the pictures and videos you upload here do not show up in your newsfeed. So, you can upload any number of silly pictures that you wouldn’t want on your feed otherwise. It also gives you a chance to share more of your life with your followers without crowding their feeds. When you start using Instagram Stories, you might notice a slight problem; how do you add Instagram Stories from camera roll or the pictures you have already taken? It seems that the app forces you to take a picture from its built-in camera and then upload it.
But, there is a way to post Instagram Stories from camera roll and if you fiddle around a little you’ll figure it out too. However, to save you the trouble, we have set down all you need to do right here in this article. Go through it and start posting Instagram Stories from camera roll like a pro.
Creating Instagram Stories from Camera Roll

You may think that creating Instagram Stories from camera roll is too difficult, but you’ll soon see that it’s really not. In fact, the option to do that has been hiding in plain sight the whole time. Follow the steps below to upload photos and videos from your library to your Story.
- To begin creating a Story from your library, you first have to open the Instagram app on your phone. Now, if you’re already logged in, you can proceed to the next step. But, if you’re not, you can log in using your username and password now.
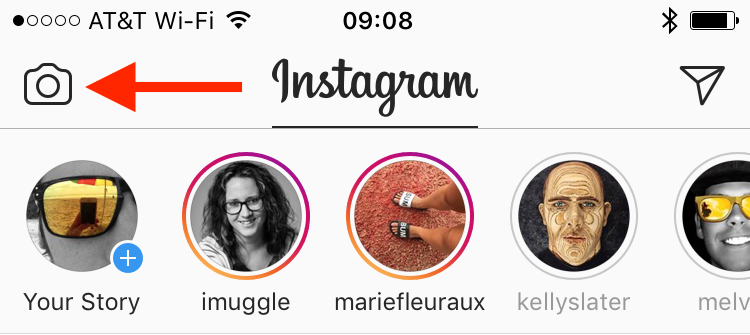
- Once you have logged in, tap on the little Camera icon in the top, left corner of the screen to open the Camera screen.

- Here, you can easily take a picture or record a video for your story. But, we don’t want to do that, we want pictures and videos you have already taken. So, we need to go to your phone’s library for that. For that, you have to swipe up from the screen, which will open a strip of pictures you can choose from.
- From these pictures, choose the one you want to add to your Story and simply tap on it. You can edit it, add filters or effects, as well as texts and stickers, before uploading.
- Keep repeating until you have added all the pictures you want in your Story.
See how easy that was? But, there are a few limitations to this method. The first and most important of these limitations is the fact that you can only upload pictures or videos that were taken in the last twenty four hours. Anything you captured before twenty four hours will not be available in the pictures section at all.
Secondly, if you upload a video that is too long, Instagram will automatically crop it and make it into a 10 second clip. One way you can avoid losing quality video material is by editing it yourself, bringing it to the 10 seconds you want and then uploading it to your Story.
But, what if you forget you had an amazing picture you wanted to share with all your followers and you only remember it after the twenty four hours have passed? Don’t worry just yet, there are a couple of things you can try out to get that picture into the Story.
Make Instagram Stories from Camera Roll Using Older Pictures
So, if you missed out on your chance to upload a picture to your Instagram Story within the twenty four hour period, you’ve come to the right place to look for a workaround. As it stands, there are a few things you can do, and we will look at all of them.
Take a Screenshot
The first, and easiest method you can use is taking a screenshot of the picture you want to upload to your Story. How do you do that? Well, it depends mostly on your phone but basically you have to press the Home and Sleep button or the Sleep and Volume button simultaneously. Once your phone takes the screenshot, it will automatically be added to your phone’s camera roll. How does that change anything? Well, the screenshot, being brand new, will be available when you’re selecting photos for your Instagram Story.
However, there is one disadvantage to this method. Taking a screenshot will mean that the new picture will be subpar in terms of the quality as compared to the original. You may also need to crop the picture before uploading it because viewing an image often means a lot of black background and unnecessary things like the time on the phone, or some menu icons. So, if you’re okay with both those things, you can easily upload any picture you want to your Instagram Story, no matter how old it is.
Edit the Meta Data of the Picture
The next method requires a tiny bit more effort than the first one but it is still one of the faster and more effective methods of uploading an old picture to your Story. For this, you need to edit the meta data of your picture in order to change the date that you took it. What is meta data you may ask? Well, it’s an extra layer of data that provides information about the original data. In our case, the original data is the picture we want to upload to the Instagram Story. With meta data you can not only find out the date when the picture was taken, but also where it was taken and with which camera.
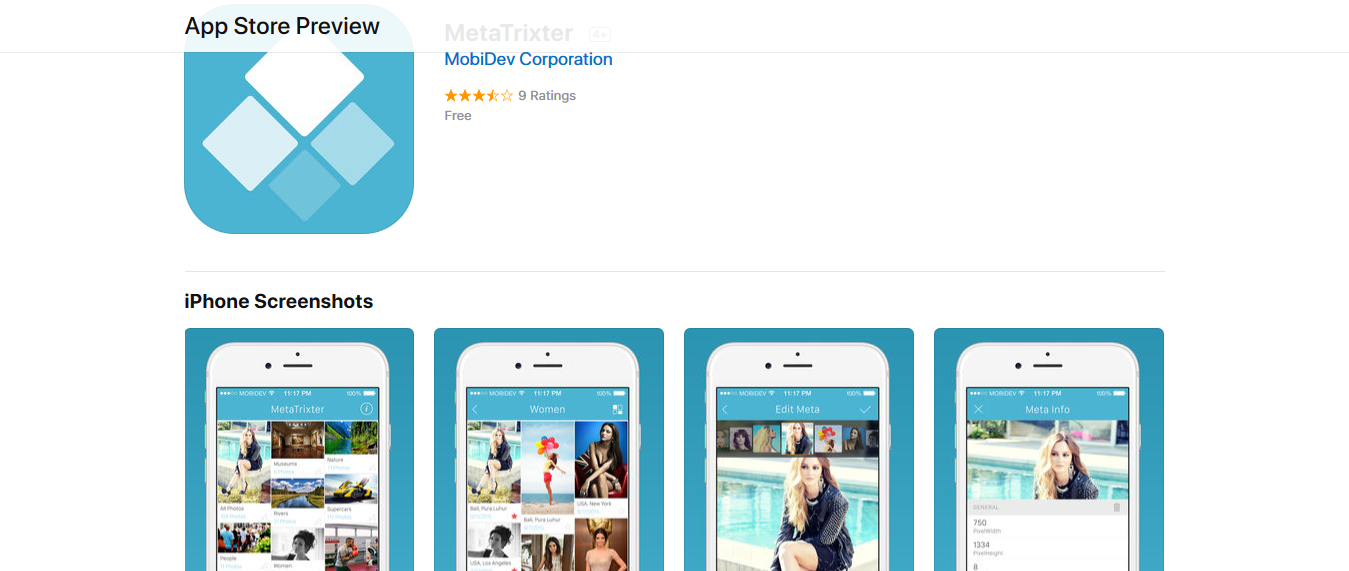
Now, to do this you need to download an app that allows you to mess with the meta data of the pictures. If you’re using an iPhone, you can give MetaTrixter a try. This app is easily available in the Apple Store for free. Furthermore, it does not require any in-app purchases and does not have any ads. All you have to do is go to the Apple Store and download it. Then, open the app, choose the picture you want to edit, then edit the date the picture was taken (make sure it’s within 24 hours) and save it again. A similar app for Android, with all the same functions, is Photo Efix Editor.

However, you have to remember that using this method actually modifies the original picture and does not create a copy of it. So, only use it if you absolutely have to.
Edit the Timestamp of Your Picture Automatically
Although the above method for changing the date of the picture is easy, it’s not for everyone. Not everyone is tech savvy enough to know what they’re doing when they try to edit the meta data of a picture. So, if you’re unsure of what to do, the best thing is to let it be and try to figure out some other way you can change the date of the picture. A way that does not require you to do much of anything. Well, if that is what you’re looking for then your search has led you to the right place indeed, because we have the answer to all your problems. The answer lies in the app Storied For Instagram.
The name of the app itself should make it clear that it’s designed to make your Instagram use easier, especially when it comes to your Instagram Story. What it essentially does is clone the picture you want to upload to your Story and then changes the meta data of said picture automatically. How? You simply have to press a button and the app does all the work for you in changing the timestamp of the picture. However, the app does not come free; you have to buy it from the App Store for $0.99. But, it’s worth the small investment because it does make your life a whole lot easier.
All you need to do is download the app, launch it and select a picture that is older than twenty four hours. Or, you can select a video if you want to upload an older video to your Story. That’s all you have to do; the app will do the rest of the work for you and create an identical copy of the video or picture in your camera roll. Clearly the easiest method, but since there is a fee for it, you should weigh the pros and cons of it before committing to it.
Have any other ideas for creating Instagram Stories from camera roll of your phone? We’ll be glad to hear them so share away!
