Apple user or not an Apple user, you cannot really be oblivious to the fact that Apple and its iDevices have revolutionized the world as an overall. Their exquisite launch of smart phones every year is something that the entire world looks forward to since the start of the year. However, it cannot be denied that new iOS users do require some time go get acquainted with the system; even though literally everything in the world is simply a tap touch away on your screen, you still need to figure out the “phone” part in iPhone to experience the joys of that “interactive” experience.

In a world where all businesses are conducted and contracts are signed over smart phones between users sitting at opposite poles of the world, Conference Calls on iPhone is a life saving tool for many. Even when it isn’t about conducting businesses, Conference Calls on iPhone are somewhat of a trend between group of friends to share that juicy gossip or families to discuss the latest family scandal! Admit it, we all have been there and have always felt the urge to dig down all juicy gossips on that conference calls!

In this post, we will guide you on how to conduct Conference Calls on iPhone which we believe would help all new iPhone users to fit into the Apple community within moments. So stay tuned on our blog for a lot more!
Step by Step Guide on taking Conference Calls on iPhone
So let’s discuss first things first, in order to take any Conference Calls on iPhone, you already have to be on a call to add another person onto it. So place the call to the first person in the group you wish to be in on your conference all by searching for their contact and then clicking the green call button given at the left of the home screen. So access your contact list, search for the person you wish to add first to the conference call on iPhone and place them a call.

When the call is directed to the person in concern, you will see a few buttons on your iPhone’s screen which would include “Mute,” “Keypad,” “Speaker” and “Contacts” which will appear even before the person has received your call. You will also find it interesting to see that the buttons for “Add Call” and “FaceTime” are faded out.
When the person receives your call and you both are connected and talking successfully, see your screen one more time. This time around, you will see that the buttons for “Add Call” and “FaceTime” are now available for selection and not faded anymore. Now to start the Conference Calls on iPhone, click the button which says “Add Call” in addition to a plus sign beside it.
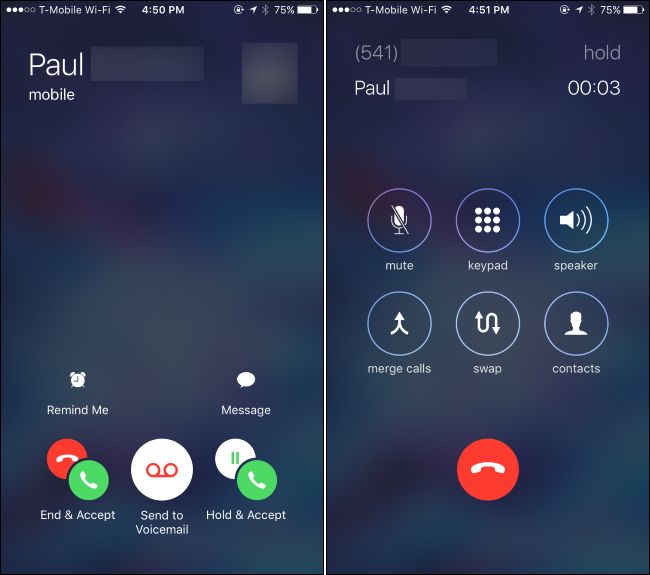
When you hit the “Add Call” button, you will be directed to the section with all your contacts. Here you must choose the other person you wish to add in to your Conference Call just like you would otherwise. The phone will then begin ringing for the next person and as it is doing so, the first call will be put on hold. You will be able to see this because at the top of the screen, the contact name of the first person will be faded out with the title of “HOLD” right beside it.

Now you will find on your screen that during the time that the phone is ringing on the second call, you will find that the allocations for the options of “Add Call” and “FaceTime” have been swapped by the options for “Merge” and “Swap” instead. Here you must select the button which says “Merge” and the two people that you have on call will seen to get merged on a single conversation. Hurrah! You have successfully initiated your first ever Conference Call on iPhone.
Now that you know how to place Conference Calls on iPhone, you can share this blog with your friends and family to help them fit in the iPhone community.
