For an iTunes Account and an Apple ID account, configuring your iPhone with a credit card option can prove to be very handy especially when you instantly have to purchase music or other content available on the iTunes Store. However, there are situations where you need to create an Apple ID without Credit Card details especially when creating an account for your kids. Moreover, other content like audio books, iTunes U, podcasts and some of the music apps are free of cost and don’t really require a credit card.

Make a New Apple ID without Credit Card in Free App Purchase

- Click on the icon for App Store present in the Home Screen.
- Then find an app free of cost that you wish to download. The easiest way to do this is by clicking on the icon for Top Charts present at the lower side of the screen and then click on the tab for Free present at the top of the display.
- Hit this Free button right beside the app that you wish to download and then click on the button for Install App as it appears.
Create a New Apple ID without Credit Card

- Once you have chosen the free of cost app that you wish to download you will find a pop up window which will open up. Click on the button for Create New Apple ID.
- Then on the next display, choose the country that best matches to your present location. Even though the default selected location should already be correct however if it isn’t then click on the button for Store to adjust it. Then click on Next to proceed ahead.
- Go through all the terms compiled in the Apple’s Privacy Policy and then click on Agree. Now another window will pop up which will require your confirmation, so simply click Agree.
- In the window for Apple ID and Password simply click on the Email option and type in your email ID that you wish to use and then hit Next. Now compose a password of good strength and click Next and then re-enter it for verification. Now press Done.
- Keep scrolling down to finish the section for Security Info. You need to answer three questions here to finish the process; click on every question and then enter its answer to finish the details.
- You can use the option for the Rescue Email to enter another email ID in case there is a need for password reset in the future.
- Now click on Month, Day, and Year options to give your birth date details. If you are creating an account for a kid then make sure they are of 13 years old at least. Then tap on Next to move ahead.
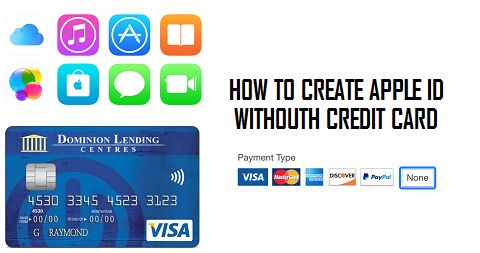
- Then on the section for Billing Information simply click on the option for None to select your payment details. Keep scrolling to enter the rest of the details such as your contact number and billing details. Then click on Next.
Finish the Sign-up Process

- The final part of the logging in procedures will ask you to verify your account. A message will pop up on your screen which will notify you that an email has been delivered on your email ID that you have registered. Then click on the button which says Done.
- Access this email account to check for this email delivered to your inbox by iTunes Store. In this email you must locate the link for Verify Now link and tap on it.
- When this process has finished, a pop up will appear asking you to log in. Simply enter your Apple username and your password and then click on Verify Address to finish this procedure.