Bluestacks is a highly renowned and competent emulator for Android that runs on Windows while the version of Bluestacks 2 has additional improved tools than its older version; in these additional features the most liked among the users is the fact that you can run many apps simultaneously.
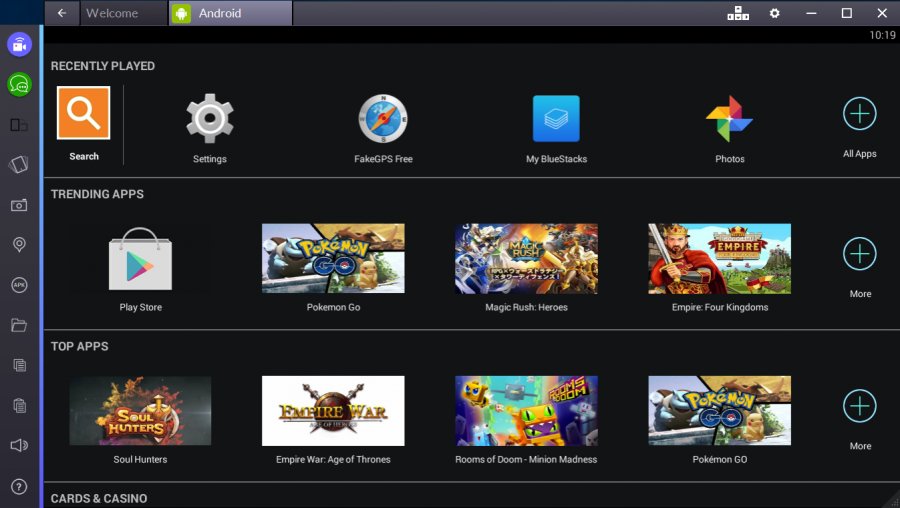
The idea of playing Clash of Clans through Bluestacks has been extremely popular among people but as Bluestacks has gained fame, so is the demand for answer on how to root the Bluestacks 2. If you root the Bluestacks 2, you can enjoy playing games like Pokemon Go without the hacking of its location feature hence it is essential that you read this till the end and follow all steps so that you can successfully root the Bluestacks 2.
How can you root Bluestacks 2?
When you are searching for methods on how to root the Bluestacks emulator, you will come across many individuals who used the King Root app for this purpose. However the sad part is that Bluestacks is very well aware on this procedure and have sufficiently patched this leak and hence you cannot use the King Root app to root your Bluestacks emulator successfully.
There are some other third party tools that can potentially provide you a root access to the version of Bluestacks 2 by performing some modifications on the kernel along with some other hacks. Consequently after a lot of research, a successful procedure to root Bluestacks 2 finally surfaced and is described below in this article.
We know that many of you may be reading this only to find out how to root Bluestacks 2 but the issue is that almost all procedures have been blocked by Bluestacks itself and the only solution to this is that you should install the pre-rooted Bluestacks version.
What is the in detail procedure for rooting Bluestacks 2?
Without wasting any more time let’s get on with the in detail process that needs to be followed if you successfully wish to root Bluestacks 2 version. Make sure you don’t skip out on any steps:
- The first thing you should see to it is that if the Bluestacks is already installed on your device and you wish to root the pre-installed version then you let it be known this is impossible to do. You should uninstall the Bluestacks and then install the version of Bluestacks that is already rooted. However if you don’t have the Bluestacks version installed then move to step 9 directly.
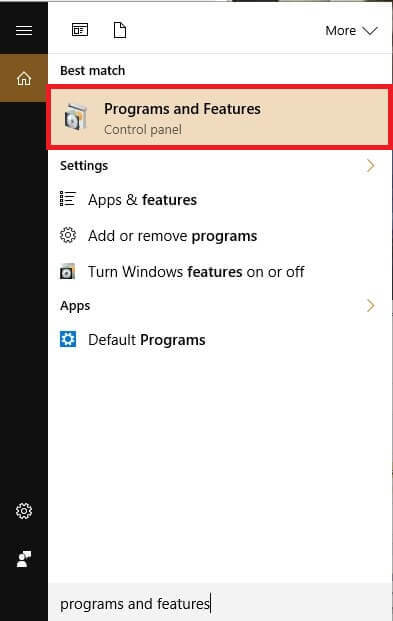
- Click on the button for Start and enter “Programs and Features”, this will direct you to the section for programs and features here you will be able to view all the listed programs on your device. These programs will be arranged according to name which will make the work multiple folds easier.
- In this Programs list, look for Bluestacks and place your cursor on it to click and highlight this program.
- When Bluestacks has been highlighted, press the button which reads Uninstall as displayed in the image beneath.
- Now if you are seeing the “User Access Control” window simply answer Yes.
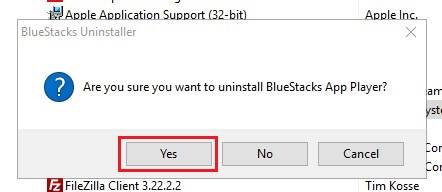
- Then you will be required to uninstall this. BlueStacks will now ask for the verification and when the window which says “Are you sure you want to uninstall BlueStacks App Player” appears, press the button for Yes.
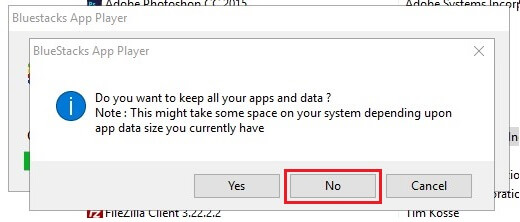
- You will then see a pop up window requiring you to tell it if you wish to keep all the files and data from your Bluestacks installation. Here you should answer No and refer to the image beneath.
- When the Bluestacks has been fully uninstalled from your device, you should restart your device. Although this step isn’t compulsory but it is wise that you do it.
- In this step you must download the pre-rooted version of the Bluestacks 2 using this link. One thing you should understand is that it is not our website that has installed root in this Bluestacks installer instead it has been done by a third party and if you wish to use your Bluestacks account, ensure that you are set up for a two factor verification on as many places you can have it on. Cosect.net cannot be held liable if your password gets stolen.
- You should now right hit the exe file and access it as the Administrator. You will now be looking at the Bluestacks installer, then keep obeying the shown prompts on the screen and your Bluestacks 2 will have now successfully rooted on your Windows device. All will be done for you automatically.
When Bluestacks 2 has been rooted or the rooted version of Bluestacks 2 has been installed successfully, you should then see the account set up details and visit the Google Play Store and go on to downloading the Root Checker app. If you now open this app, you will then see that Bluestacks 2 has been successfully rooted and you can play games using this.
