Snapchat has added a new feature to its application – Groups. This new feature is added by the Snapchat team to provide more chatting options to its users and has been quite popular among the young generation who simply want to connect with all their peers more easily. With this feature, a common question that has popped up is how you can remove someone from a Snapchat group. But, before answering that question, we need to discuss some other things.

First, What Exactly is Snapchat?
Snapchat is a photo and video messaging and multimedia mobile application which was initially released on September 2011 and is available for both iOS and Android devices. One of the unique features of Snapchat is that the photos or videos shared with someone last only for a short duration before disappearing forever. The shared content is referred to as “snaps” and you can take screenshots of the snaps to keep them from being “lost forever”, but doing so sends a notification to the person whose snap you are taking a screenshot of. Similarly, you can save your snaps to your device or Snapchat memories before sharing them with your friend(s) or putting them in your story.
Also read: Bowers & Wilkins Zeppelin Wireless Speakers Review
The app was originally meant for person to person photo sharing but has now evolved to feature your snaps as a story of your trip or day in a feature called “Stories”. These stories last 24 hours and you can edit who can view these stories – either all your snapchat friends or some custom groups you want. There is also the feature of “Discover” that is basically a brand promotion through which different brands promote their content in form of short entertainment. As of 2017, Snapchat has more than 166 million daily active users. Another feature added to snapchat that has been quite successful is the the Shazam-Snapchat integration; now you can shazam all the songs you don’t know the names by using Snapchat.
Well, Then What are Snapchat Groups?

Another new feature added by the Snapchat team is that of Groups. Now you can create groups with up to 31 friends with whom you can share the moment and stay in touch. A Group Story is created by default when you create a Group Chat or are added to one. Also, this Group Chat will be automatically visible on the Friends Screen and if you cannot find it you can always use the search feature. A few of the features of Snapchat Groups are:
- All chats sent in the Group are deleted after 24 hours
- You can save messages in a group chat by pressing and holding them. Saved messages will have a gray background and everyone in the chat can see what messages are saved.
- When any member of the Group is online and viewing the Chat, their name bubble will light up and appear on the top of your keyboard.
- You can tap on a friend’s name bubble to view their profile.
- When you tap on people who are not your friends you will be able to see the option of adding them.
- Name of those members of the group that have opened the snap will appear below the snap once they have opened it.
- Snaps sent to a group chat can be opened and replayed once by each member.
- The basic feature of Snapchat, like pressing and holding on a Chat to see who has viewed it or saved it is also present.
- The feature of “snap streaks” which is related to individual chats does not apply here.
- When you leave the Group Chat all your snaps and chats will be cleared from the group.
How Can You Create a Snapchat Group?
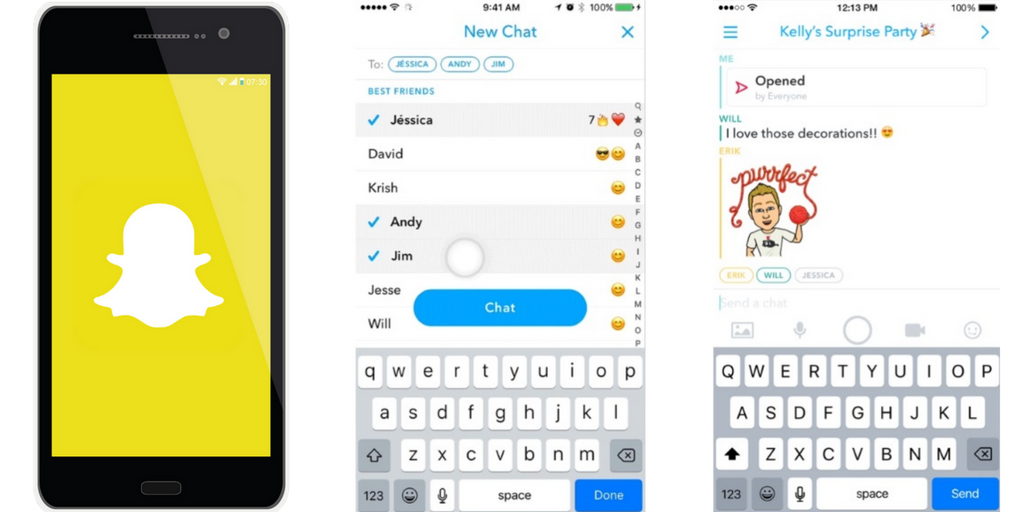
Snapchat’s Group chat feature is really easy to use and Groups can be created when you are sending a snap, or when you are creating a new chat. To make it easier for you to create your own group, we have listed down the instructions:
- Open your Snapchat app.
- Click on the new chat icon in the top right corner of the chats screen.
- Add the friends you want in the group – maximum 31 people. You can only add people who are in your friends list on snapchat.
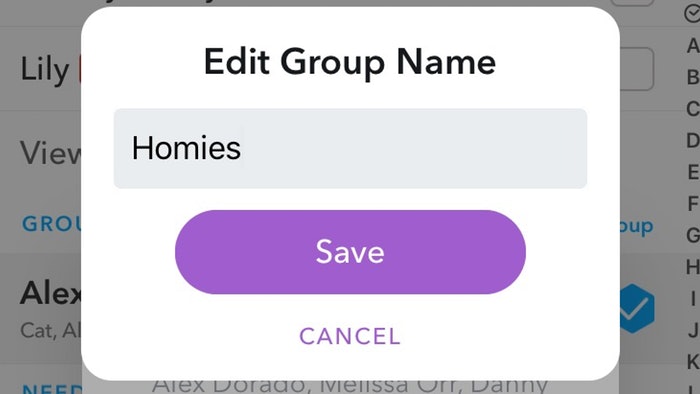
- Give a name to your group.

Now after taking a snap you can send that directly to your group by choosing the group you created in the send snaps screen. Each member of the group will be able to see the snap shared and who has seen the snap.
Another way to create a group is:
- Open your Snapchat app.
- Take a snap and edit it however you want: add filters, emojis, draw on it or keep it as it is.
- Send the snap by clicking the blue arrow on the bottom right corner.
- Select the friends to whom you want to send your snap.
- When you pick more than one friend you will see a new “cluster of people” icon has appeared on the top right corner of the screen. This icon is the group icon – tap on it.
- Now you can add more people to it or send the snap as it is to the already selected people.
- You can name the group by tapping and holding onto the group and then giving it a name.
You Also Need to Manage Your Snapchat Group
Snapchat groups are pretty simple and easy to manage but one annoying feature is that anyone can rename the group. So, your group can very well be lost among the countless chats when one of your friends feels like messing around and renaming a group. However, the many good features of the group inlcude the ability to share Bitmoji, notes, video messages, snaps, Friendmoji, stickers and even chats in the group.

To manage your group you can go to the Settings page and manage the notifications, rename the group or add more people to it. Steps to access the settings are as given below:
- Open the Snapchat app.
- Go to the Group Chat and tap on it.
- On the top left corner you will see three lines, tap them.
- The settings you will be able to change are:
- Add people
- Turn notifications on/off
- Edit Group name
- Leave Group
- Update the changes and you’re done.
Do be aware that when you rename the group or add more people to it all members of the group will be able to see.
Additional Features of a Snapchat Group
The features below have been discussed previously, but are explained here in more detail.
- People in your Group Chat
- You can view these people from the group settings menu.
- When someone from your group is online and has opened the group chat you will be able to see their name inside a bubble above your keyboard which will be lit.
- You can add people by clicking on their bubble or can simply quick chat with them.
- Chat view and save
- You can tap and hold a chat to see people who have viewed it or have saved it.
- When any member has opened a chat their name will appear below it in the chat.
- Remember
- All Chats and snaps will be deleted after 24 hours.
- You can save snaps from being deleted.
- Snaps sent to the group can be opened and replayed once by each member.
How Can You Leave a Snapchat Group?
Sometimes you need a little space and time from all the silly talk or people gossiping or unnecessary notifications or just want to leave a group that’s not to your liking or doesn’t serve the purpose. In such cases you can simply leave the group.
- Again, open the Snapchat app.
- Go to the Group Chat and tap on it.
- On the top left corner you will see three lines, tap them.
- Then, select “Leave Group”.
Be careful you don’t leave a group by mistake because there are a few things that are associated with leaving the group:
- Everyone will be able to see that you have left the group.
- All your snaps and chats from the Group will be cleared instantly. This also includes the snaps or chats that someone has saved
- If you are added back to the group you have to start from scratch:
- You won’t be able to see any messages from before you left.
- You won’t be able to see any messages from after you left.
- You will only be able to see the messages from the point when you joined the group again.
But How Can You Remove Someone from a Snapchat Group?
Added someone you don’t want in your group? Or just want someone to be removed from your group? We have some bad news for you; this feature is not yet available in Snapchat. Even if you have created the group you still can’t remove someone from it. What you can do is:
- Leave the group yourself and create a new one without the member(s) you don’t want.
- Ask the member(s) to leave themself.
- Wait for Snapchat to introduce this feature in one of their updates.